From planter singulation to seed furrow creation, use this preseason planter maintenance checklist from Pioneer to help prevent common seeding problems that result from improper setup, maintenance and operation.
1. Planter Frame
Hitch Height

- This planter hitch is too low
- 7 x 7 toolbar is sloping downhill
- Hitch height should be raised to level toolbar for best planter performance
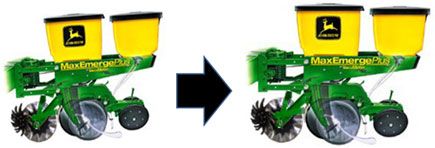
Left Photo:
- No-Till Coulters too deep
- Keeton Seed Firmer down pressure lightened
- Closing wheel down-pressure lightened
Right Photo:
- Level your units in the field
- Must be done in motion. Have someone help you watch your row unit
- Front of seed box should be 1/2” higher than back of insecticide box
Correct Toolbar Height
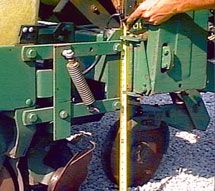
- Bar height should be 20" - 22" from ground level
- Provides correct down- pressure from springs
- Allows row unit to run level in seedbed
Level Bar Across Entire Planter

Stop and think how much weight is added to the center frame of this planter. Two 50-bushel seed tanks plus a 500-gallon fertilizer tank all riding on the center. Four tires pushing the center of the planter farther down into the tilled soil than the wings.
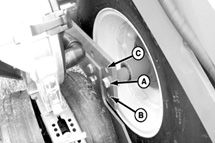
- On center weighted planters the center section may need to be adjusted to compensate for payload
- Tillage practices affect bar height across large planters
Seed Transmission Systems
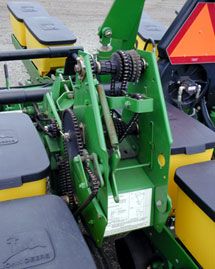
How much vibration do you have in your drive system?
Check the following:
- Clutch assembly
- Bearings/sprockets/idlers
- All chains
Note: Transmissions need to run smoothly. Any vibration in the drive system will end up at the meters and can cause spacing issues. Sprockets, chains, bearings, meter drives and insecticide drives all need to be checked.
Check Shaft Alignment
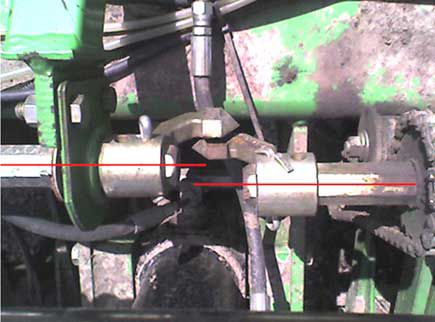
Shafts must be aligned. If they are misaligned some row units may plant heavier or lighter populations than the main section of the planter.
2. Seed Furrow Creation
No-Till Coulters
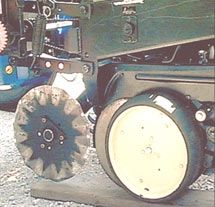
If using no-till coulters they need to be 1/4" above the openers.
- Often running too deep
- Should run 1/4" above Tru-Vee openers
- If coulters are too deep: seed will be planted too deep or openers won't turn
Row Cleaners
Set deep enough to remove trash and not throw soil. In some cases floating cleaners may help.
Floating vs. Fixed
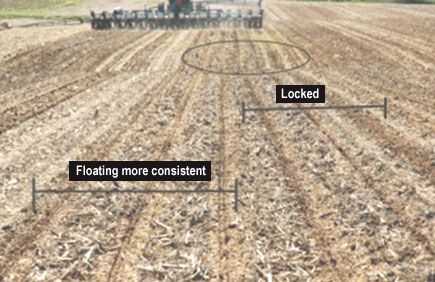
Floating row cleaners follow contours and are less likely to "trench" or "hover."
Opening Disks
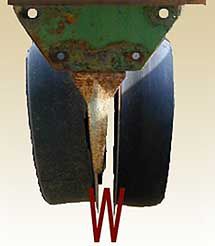
- Check for wear and alignment.
- Should form “V” trench, not “W."
JD Opening Disk
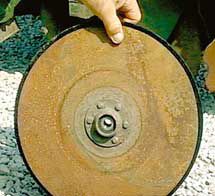
- Must replace if less than 14 1/2"
- New blades are 15"
Disk Contact Adjustment
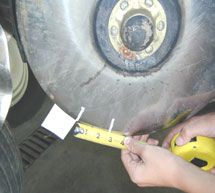
- Should have between 1 1/2" to 2 1/2" of contact on blades
- Kinze 3000 blades only need 1" of contact
- Proper adjustment creates Tru-Vee trenches
CNH Planters
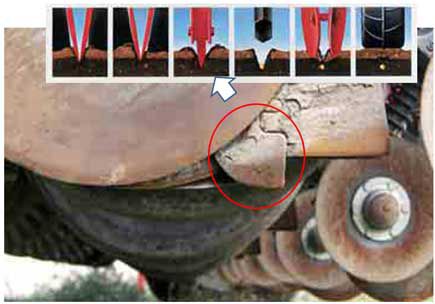
The firming point, shown in red circle below, should be replaced when opener disks are replaced.
The firmer is designed to run in the bottom of the seed trench.
3. Seed Drop
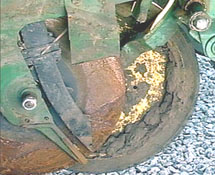
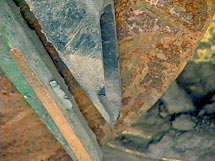


Check seed tubes and seed tube guards for wear, bending or deformation.
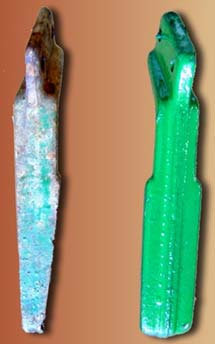
Seed tube protector worn by contact with opener allows contact between disks and seed tube. Need to keep protectors in good repair to preserve seed tubes.
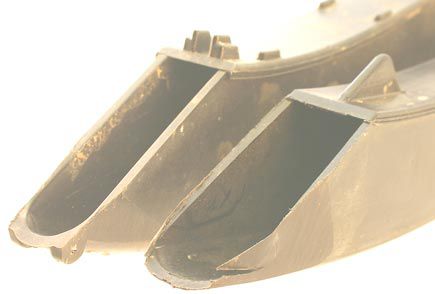
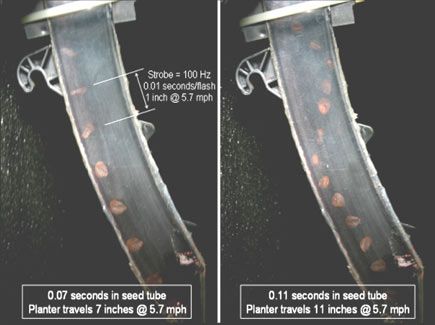
Bullseye Tube with additional wear allowances (left). Standard Tube (right). Vibration or bounce of the row unit can cause tumbling and poor seed spacing.
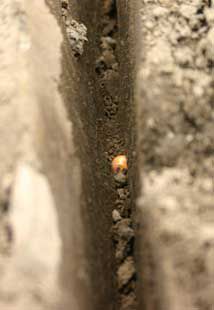
Seed firmers are designed to push the seed to the bottom of the trench. In wet conditions, soil can build up on the firmers and actually move the seed along the trench.
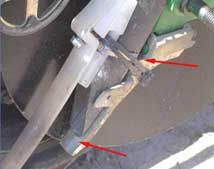
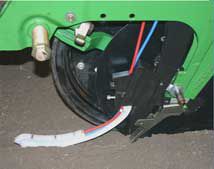
Seed firmers help eliminate a gap between the seed and the bottom of the seed trench, helping create good seed-to-soil contact and uniform depth within the seed trench.

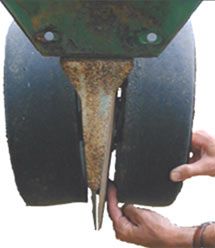
Gauge wheels should slightly rub on the disk openers to help create a good seed trench sidewall and keep the openers clean.
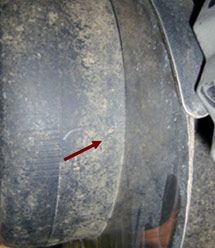
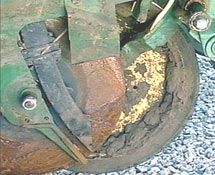
4. Covering
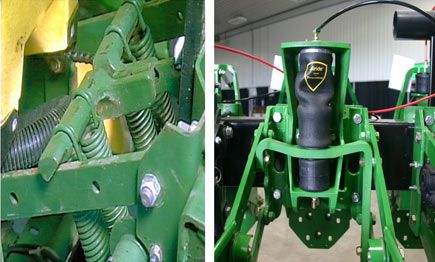
Mechanical (left) / Pneumatic (right)
Opposing Forces
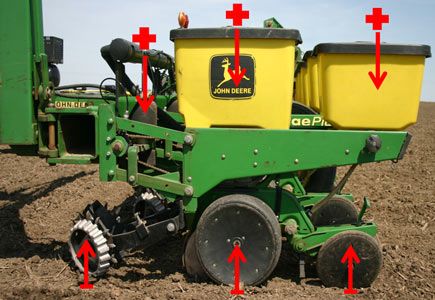
Too much down force creates sidewall compaction.
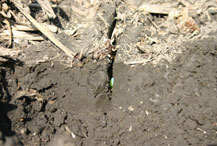
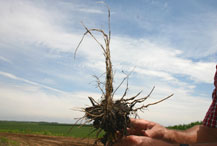
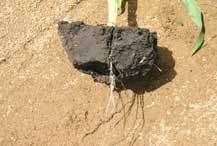
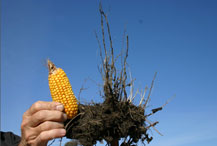
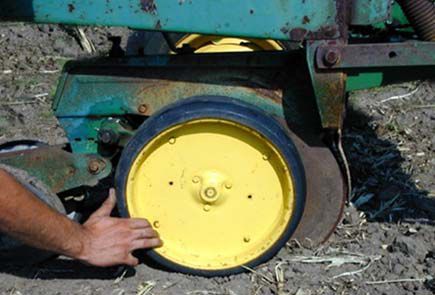
Gauge wheels should take effort to spin by hand.
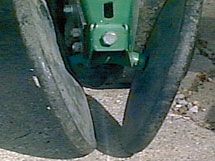
Closing wheels should be centered on the row.
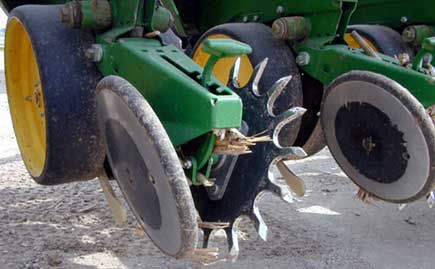
In tougher wet soils, spike closing wheels may help prevent sidewall compaction.
5. Singulation
- Check finger pickups for wear
- Replace worn knock-off brushes
- Replace worn finger pickups and check finger tension
- Replace worn or grooved faceplates
- Replace seed conveyers with missing ladders
- Use graphite for lubrication
- Check all types of vacuum systems for air leaks and worn seals around the metering units.
Cell Disk - John Deere Cell Disk

- Seed size sensitive
- Lower vacuum
Flat Disk - Precision Planting eSet
- Seed size independent
- Should have doubles eliminator
- Higher vacuum
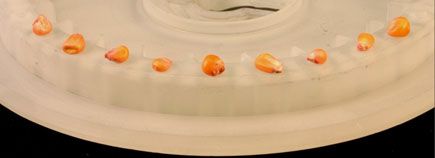
- Flat disks are more forgiving of different seed sizes than cell disks. Note the different sizes of seed in the cell disk.
Doubles Eliminators
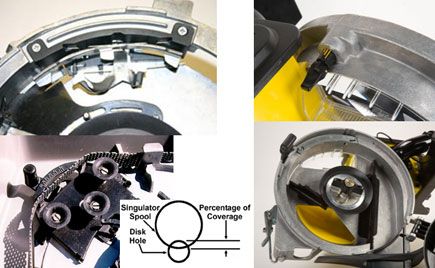
Doubles eliminators are used with flat disks. Shown are the Precision, Case and Deere singulators.
6. Whole Planter
Also check the following on your planter:
- CCS Pressure Gauge
- Agitator Shaft
- Small Seed Nozzle Insert
- Mini-hopper
- Troubleshooting for seed bridging in the seed tank:
- Symptoms: No seed or lots of air in mini hopper.
- Suggestions: Make sure tank pressure is set to the recommended setting, tank agitator is turning when fan is running and agitator pins are centered over seed nozzle openings. Start adjusting tank pressure by 1 pound until seed begins to flow.
- Troubleshooting for seed plugging in the seed hose:
- Symptoms: Seed stuck in seed delivery hose between tank and mini hopper, or seed stuck in elbow of mini hopper.
- Suggestions: Make sure tank pressure is set correctly for crop being planted. Unplug agitator motor to allow less seed to be picked up. For small seed, use tank nozzle inserts.
- Seed lubricants reduce problems. Proper use of talc to remove static and graphite to lubricate may eliminate a lot of potential problems. Use rate may need to increase for large treated seed, heavily treated seeds and when temperature and humidity are high.
- Troubleshooting for seed bridging in the seed tank:


